Stained glass WINDOW:
Light-up interactive display
Overview:
For this project, I was tasked with creating a Keepsake Design item that would remind me of Rose after graduation. I thought back to the events and activities I was a part of and the unforgettable moments I shared with friends as we did our best to survive the coursework of rose. Though out of all the adventures I have partaken in, there was recurring one that stood out to me; the homecoming bonfire. This was a night when alumni and current students came together, united in celebration. The bonfire, with its warmth and light, symbolized the spirit of the school and the sense of community that defined my time at Rose.
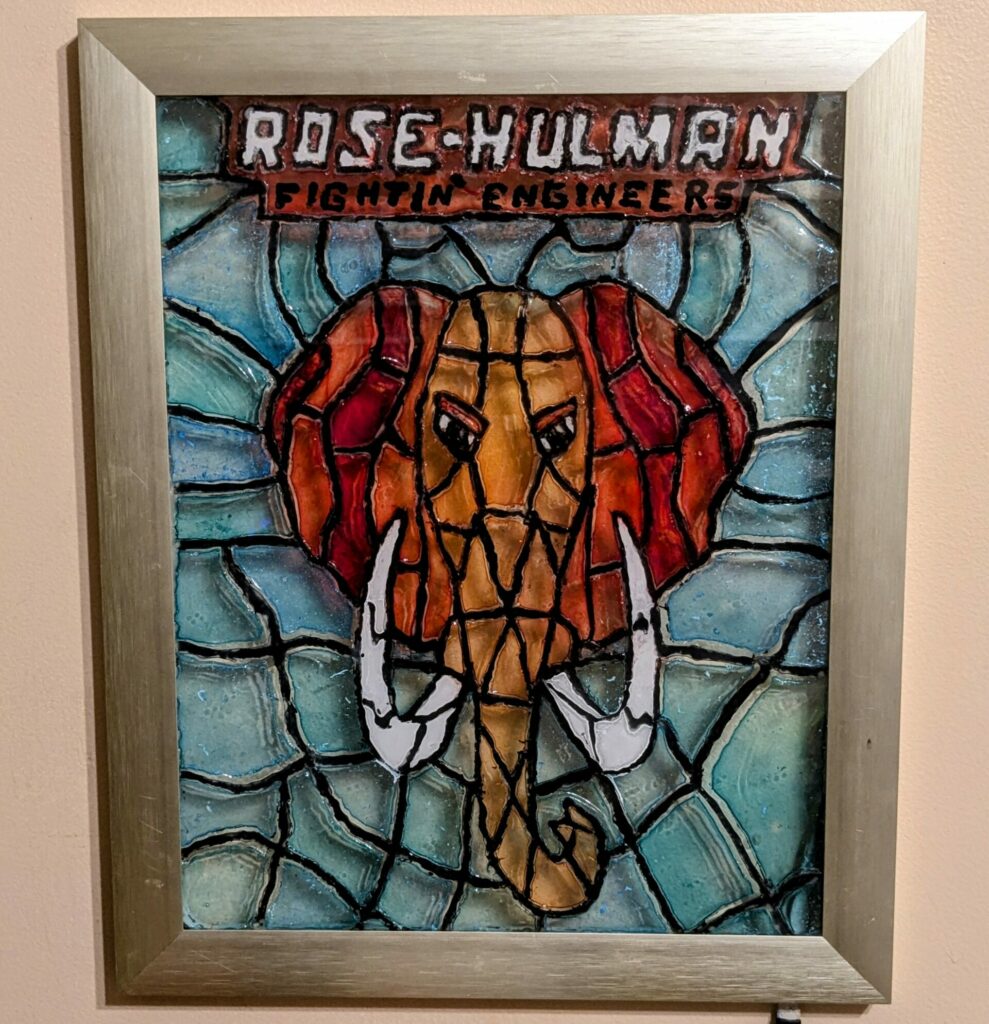
Keepsake design: LED Stained Glass window
This yearly homecoming bonfire has become my main source of inspiration. I knew I wanted to capture this in my keepsake design while also integrating my passion for art and creation. It is here that I decided to try a new art form through means of creating a stained-glass piece. For my design, I envisioned for it to feature “Rosie” in the vibrant colors of the bonfire, reminiscent of the design for the homecoming bonfire shirt I created my freshman year. Additionally, I planned to integrate LED lighting into the design, allowing the piece to be a captivating sight, both day and night.
Process:
Sketches & Planning
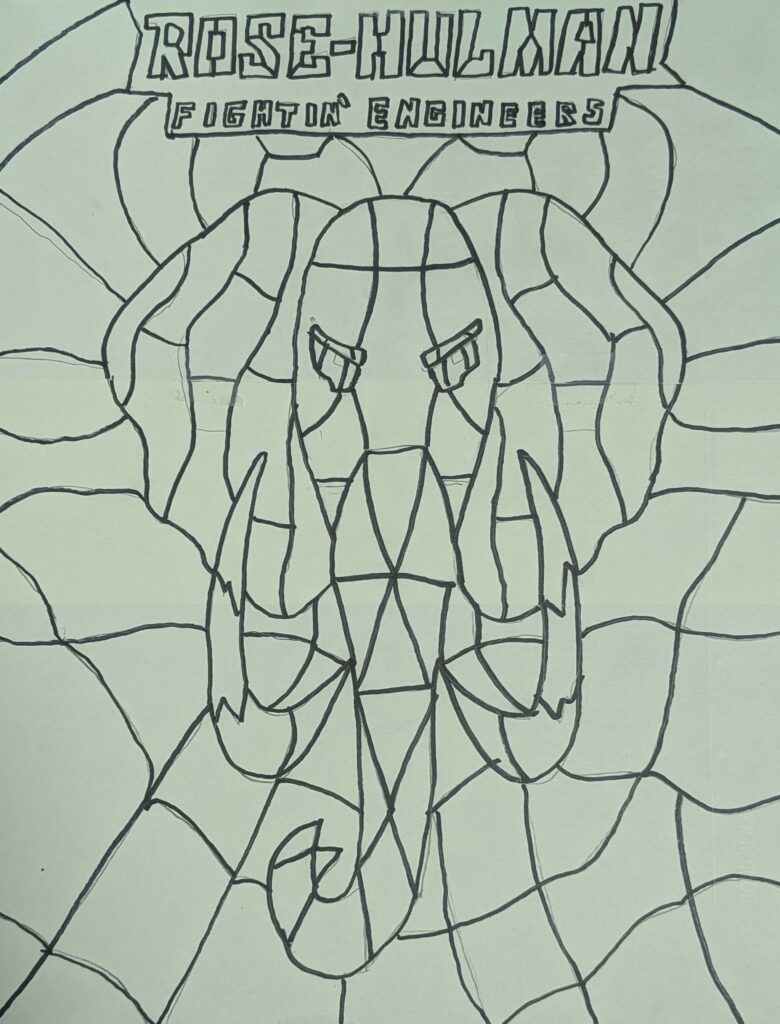
Below are the sketches I created for the concept art of stained glass window for my keepsake design.
Version 1: Sketch of Design

This is the sketched out design of my keepsake design as I began brainstorming how I wanted to my stained glass window to look and what it would feature.
Version 2: Stained glass Design
Once, I had an idea on what I envisioned my design to look like, I set out converting it into a stained glass format. This was a new challenge for me to tackle.
Version 3: final Concept Art
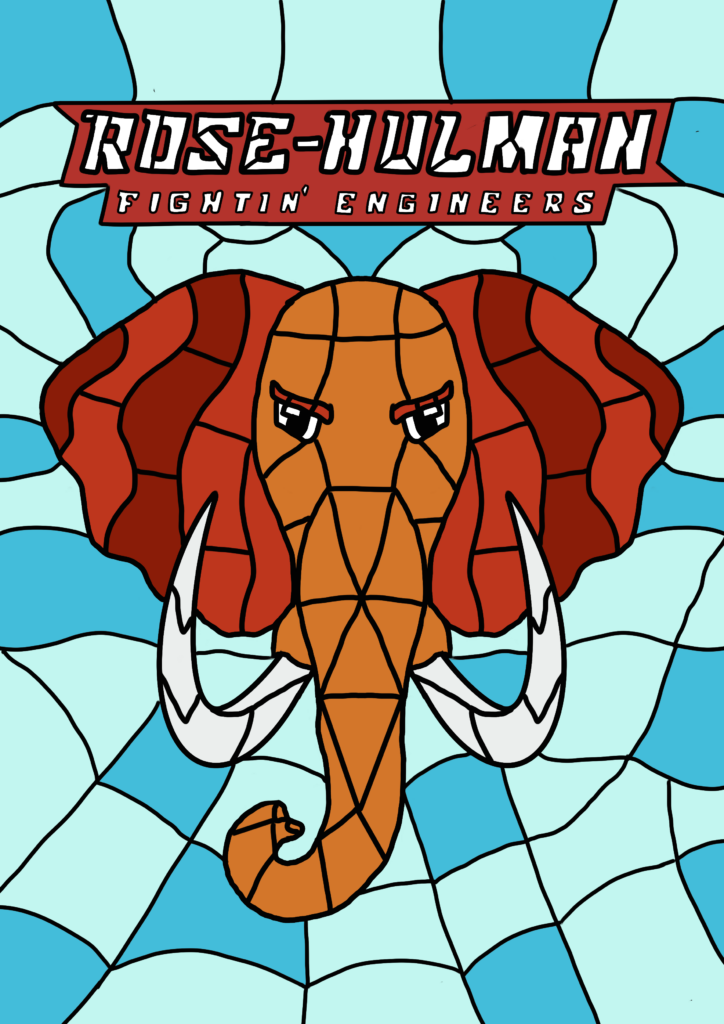
This is my final deign that I will base my project on and work towards bringing to life. I believe that I have been able to represent the bonfire colors well.
Construction & Finishing Touches:
Below is a summation of images that track my progress of the creation of my stained glass window, starting from idea to physical product.
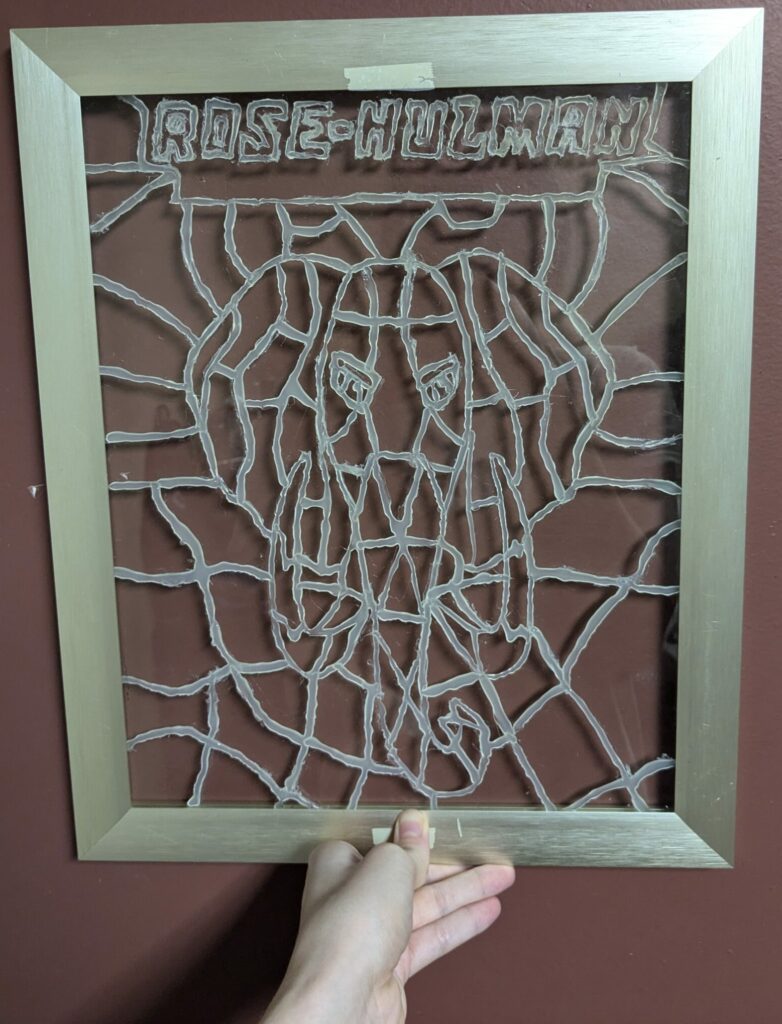 (Outline for Stained Glass Window)
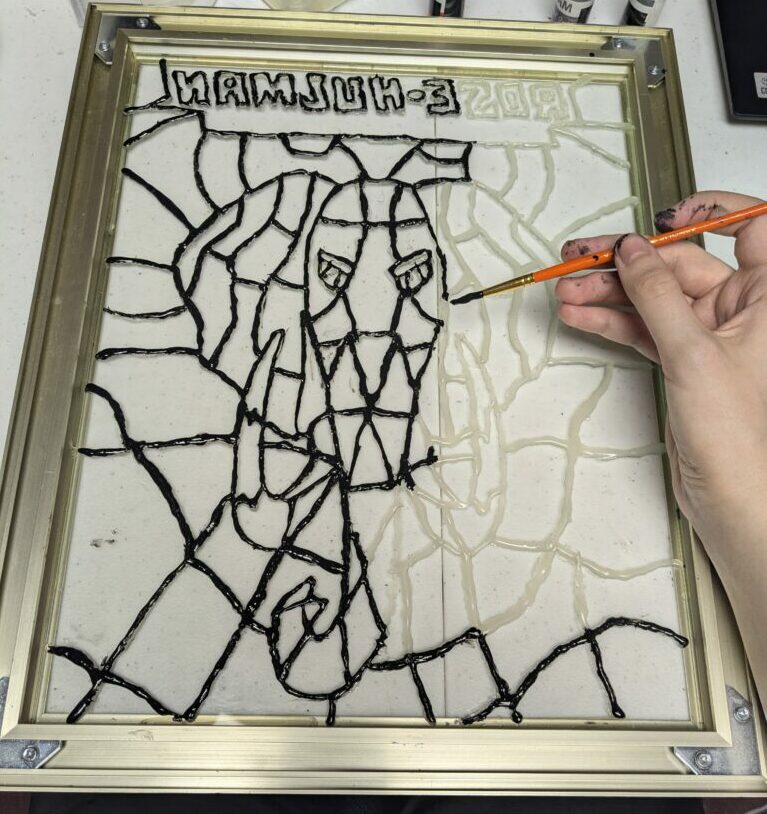
(Adding black liner onto the outline)
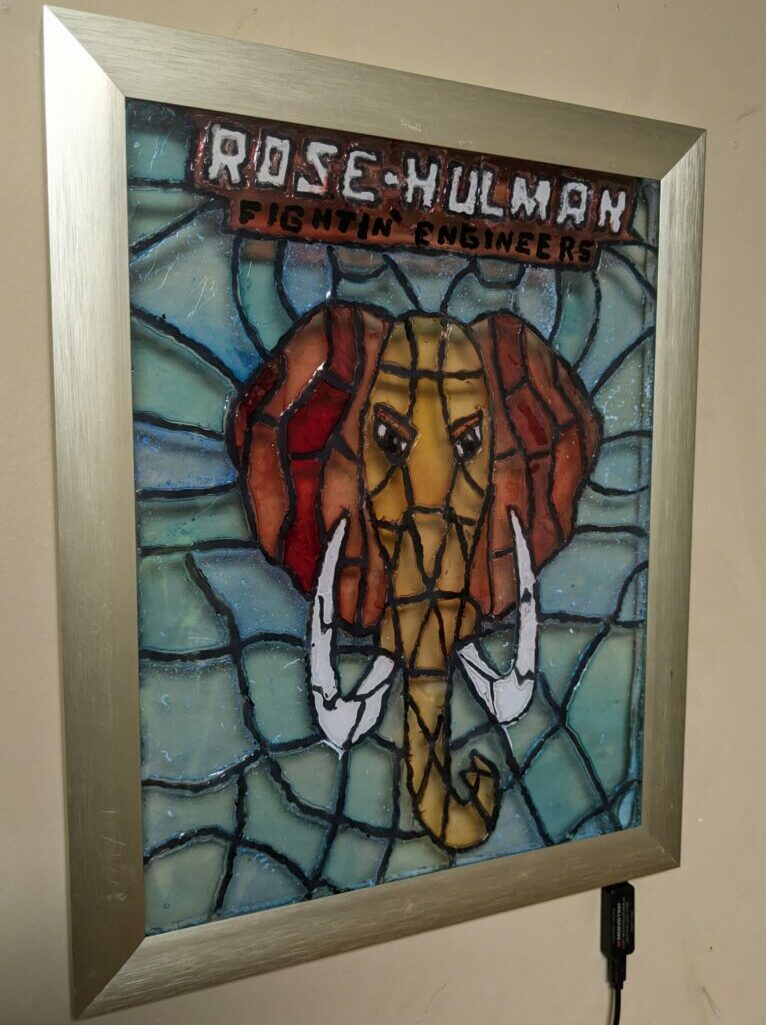 (ISO view of the Stained Glass Window)
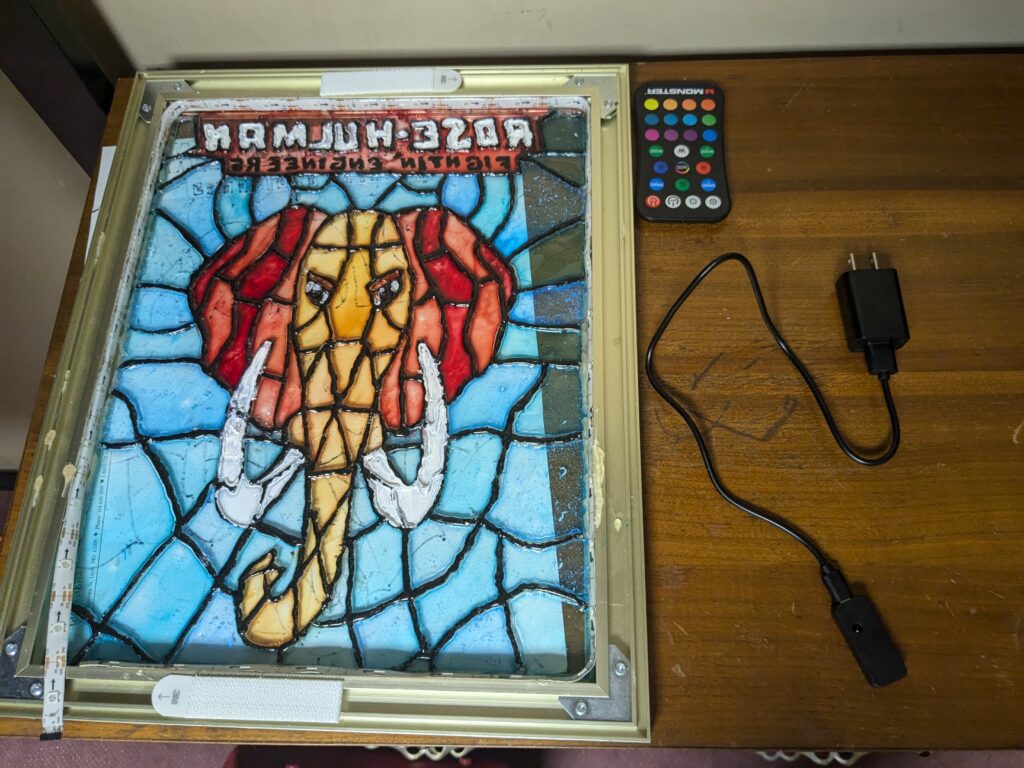
(Overview of the Stained Glass Window)
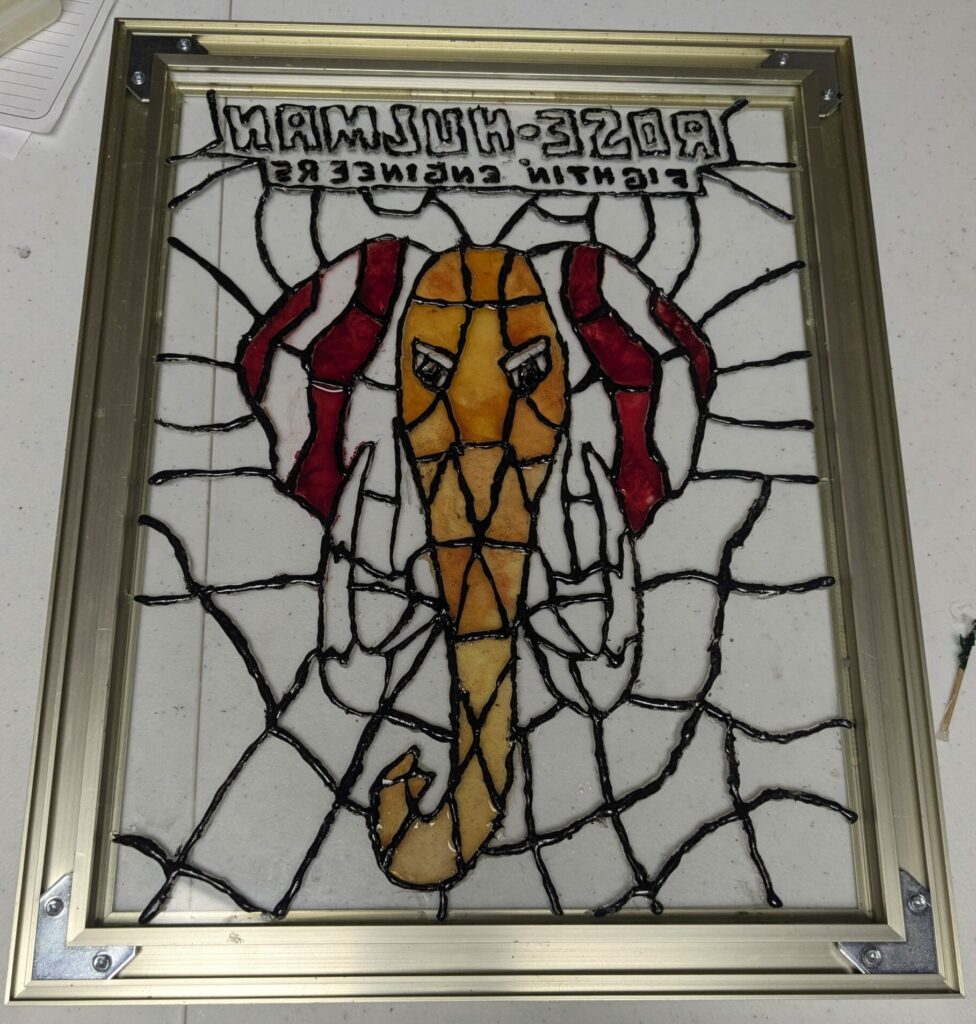 (Layering in the colored glass)
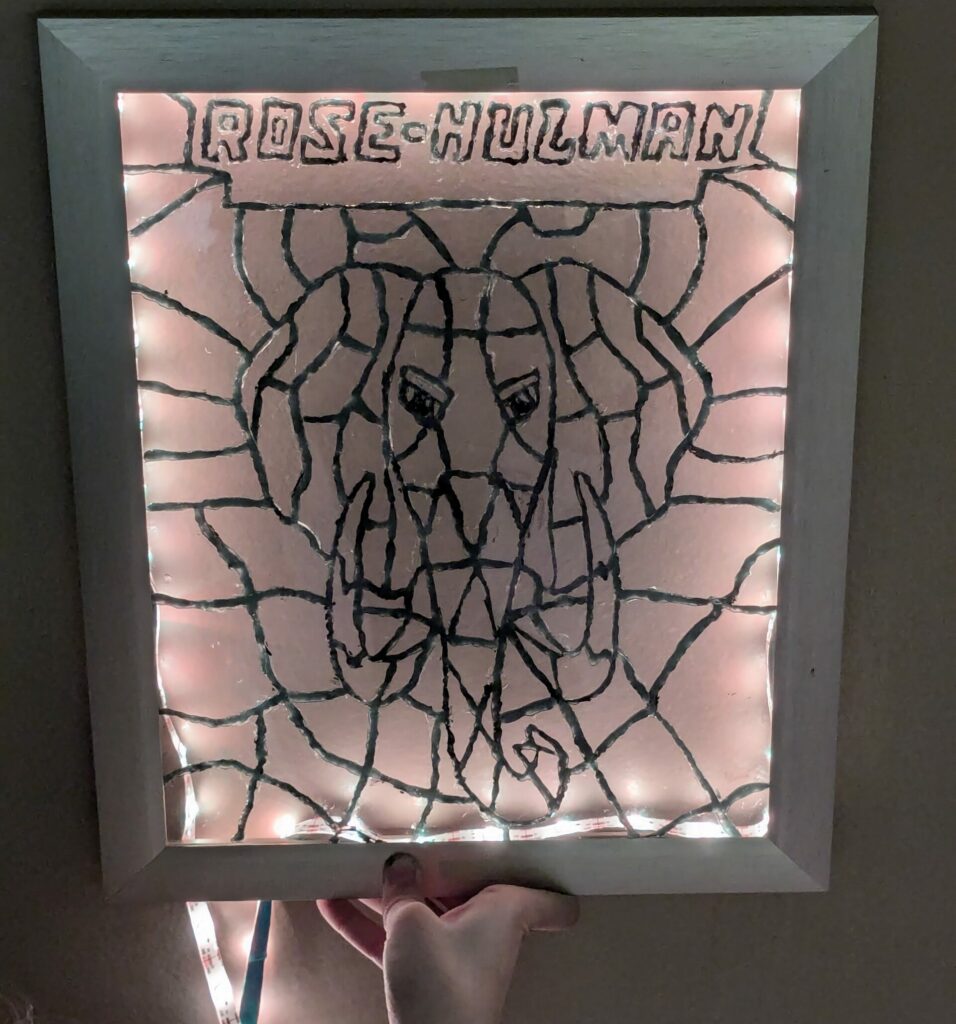 (Adding LED lights to frame)
SHOWCASE:
Below are some images of my finished LED Stained Glass Window that I have created.

(Stained Glass Window)
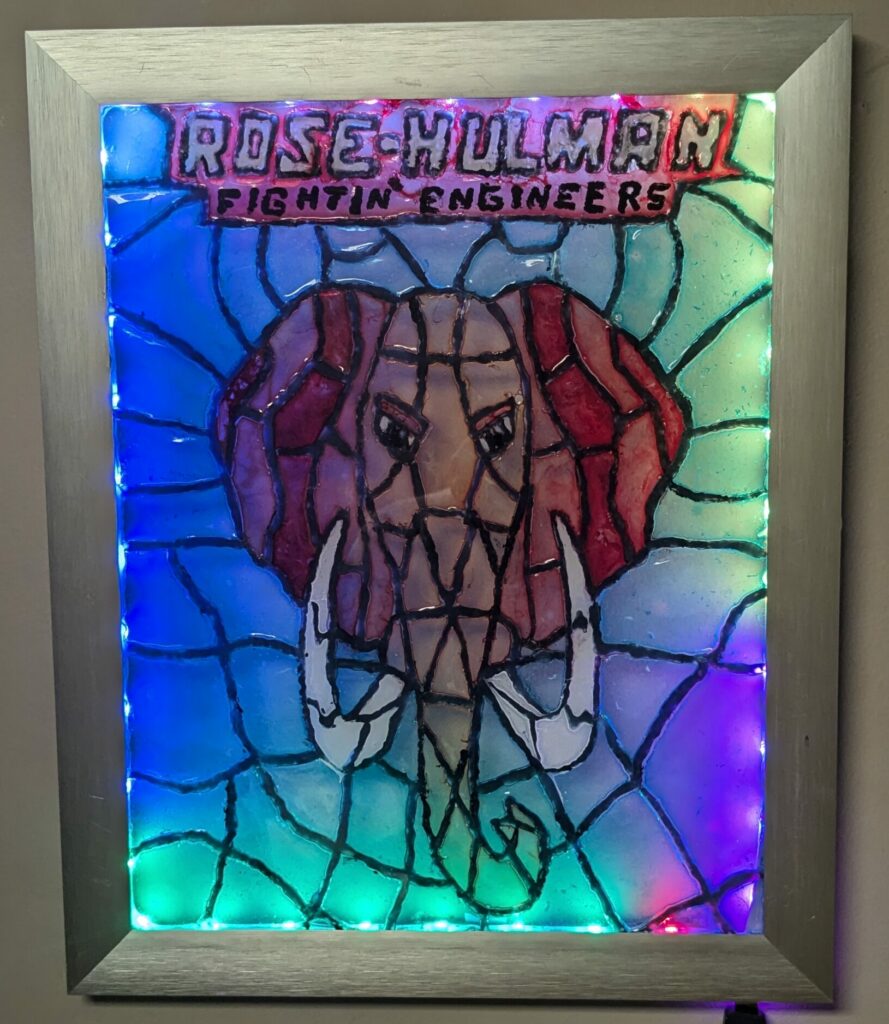
(Lit up Stained Glass Window)

Skills gained & takeaway:
- Learned how to create a Stained Glass Window.
- Combined my love for art and engineering into a memorable keepsake item.
This was a memorable project for me to tackle and I had a lot of fun creating my keepsake design. It was not an easy process to bring my idea to life. I had to face many trials and tribulations to get to the end goal. These included things such as the adhesives not sticking to the glass pieces, things drying improperly and even the letters themselves forming the words needing to be put on backwards as to ensure the word was not flipped upon looking at the stained glass window properly.
All in all, I am pleased with my creation and truly believe that this stained-glass creation will not only serve as a personal keepsake but also as a lasting tribute to the joyful and impactful moments that defined my time at Rose.